728x90
반응형

 0123
0123
//
// ViewController.swift
// ImageView
//
// Created by Leo_Jang on 25/08/2020.
// Copyright © 2020 Leo_Jang. All rights reserved.
//
import UIKit
class ViewController: UIViewController {
@IBOutlet weak var imgView: UIImageView!
@IBOutlet weak var btnResize: UIButton!
//1. 전구 On Off하기 변수에 넣어야 쓸 수 있다.
var imgOn: UIImage? // 켜짐 전구 이미지
var imgOff: UIImage? // 꺼진 전구 이미지
var isZoom = false // 이미지가 큰지 작은지 있는지 상태 아는 변수 만들기 // 확대 되어 있는지 안되어 있는지 확인가능
override func viewDidLoad() {
super.viewDidLoad()
// Do any additional setup after loading the view.
imgOn = UIImage(named: "lamp_on.png") // UIImage 켜짐 전구 변수
imgOff = UIImage(named: "lamp_off.png") //UIImage 꺼짐 전구 변수
imgView.image = imgOn // 초기 화면 이미지 넣기
}
@IBAction func btnResizeImage(_ sender: UIButton) {
let scale:CGFloat = 2.0 // 화면 크기를 2배로 (화면 크기에 곱하기 *2)
var newWidth: CGFloat // 이미지 관련된 코드는 모두 C로 되어 있다.
var newHeight: CGFloat
if isZoom{
newWidth = imgView.frame.width / scale // 넓이를 작게 만드는 것
newHeight = imgView.frame.height / scale // 높이를 작게 만드는 것
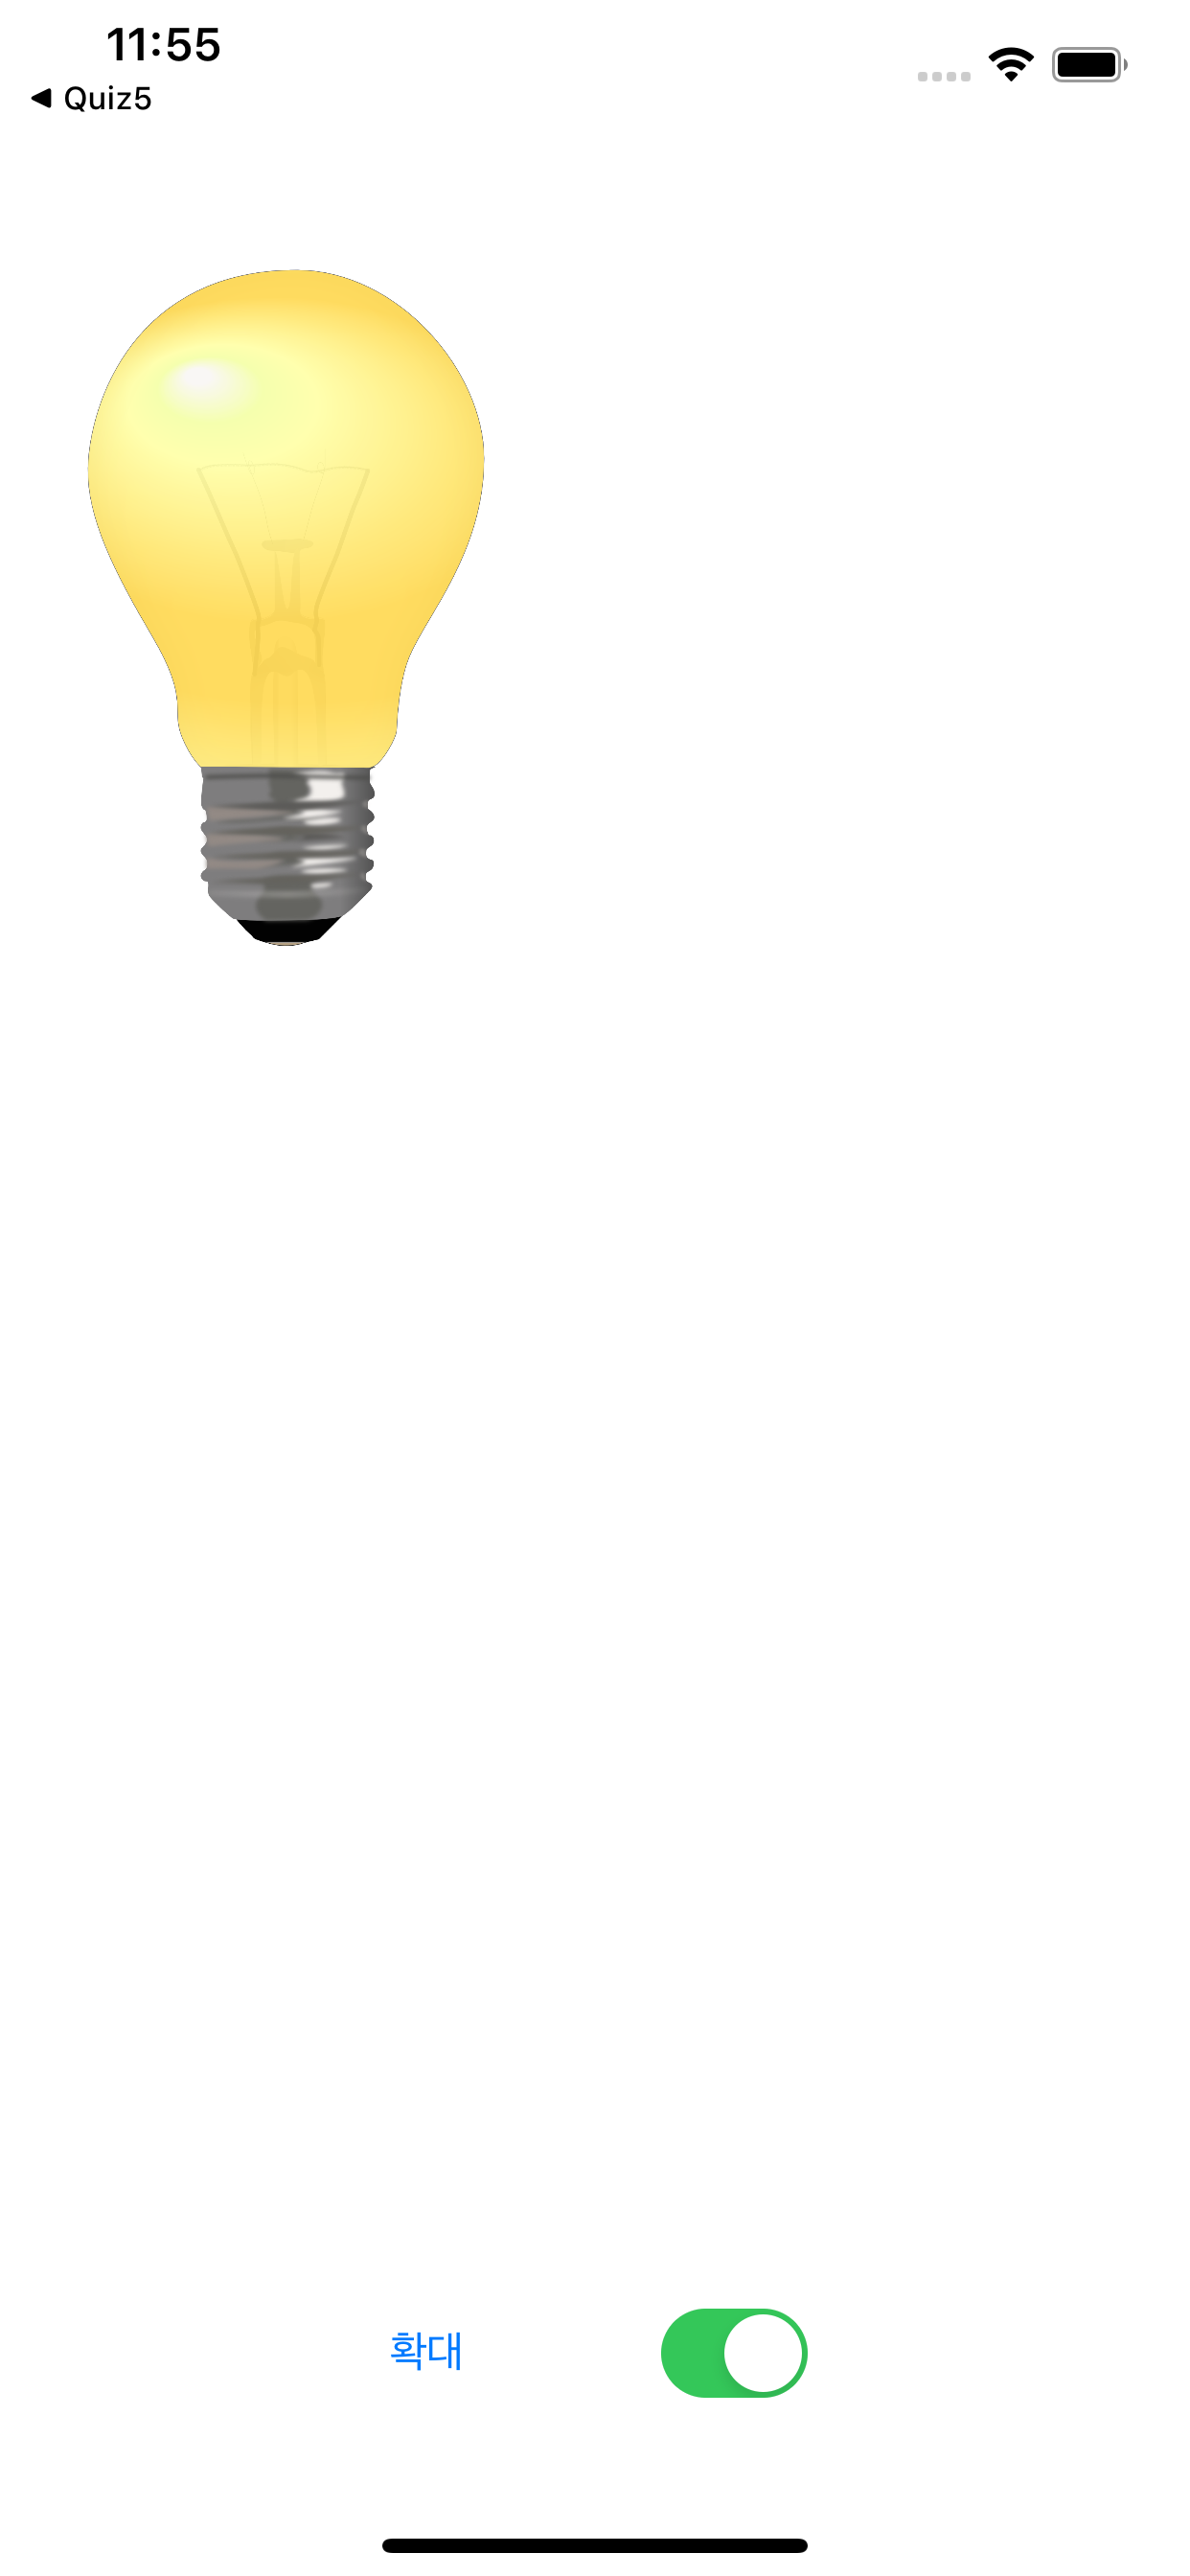
btnResize.setTitle("확대", for: .normal) // 버튼 이름 값 초기화면
}else{
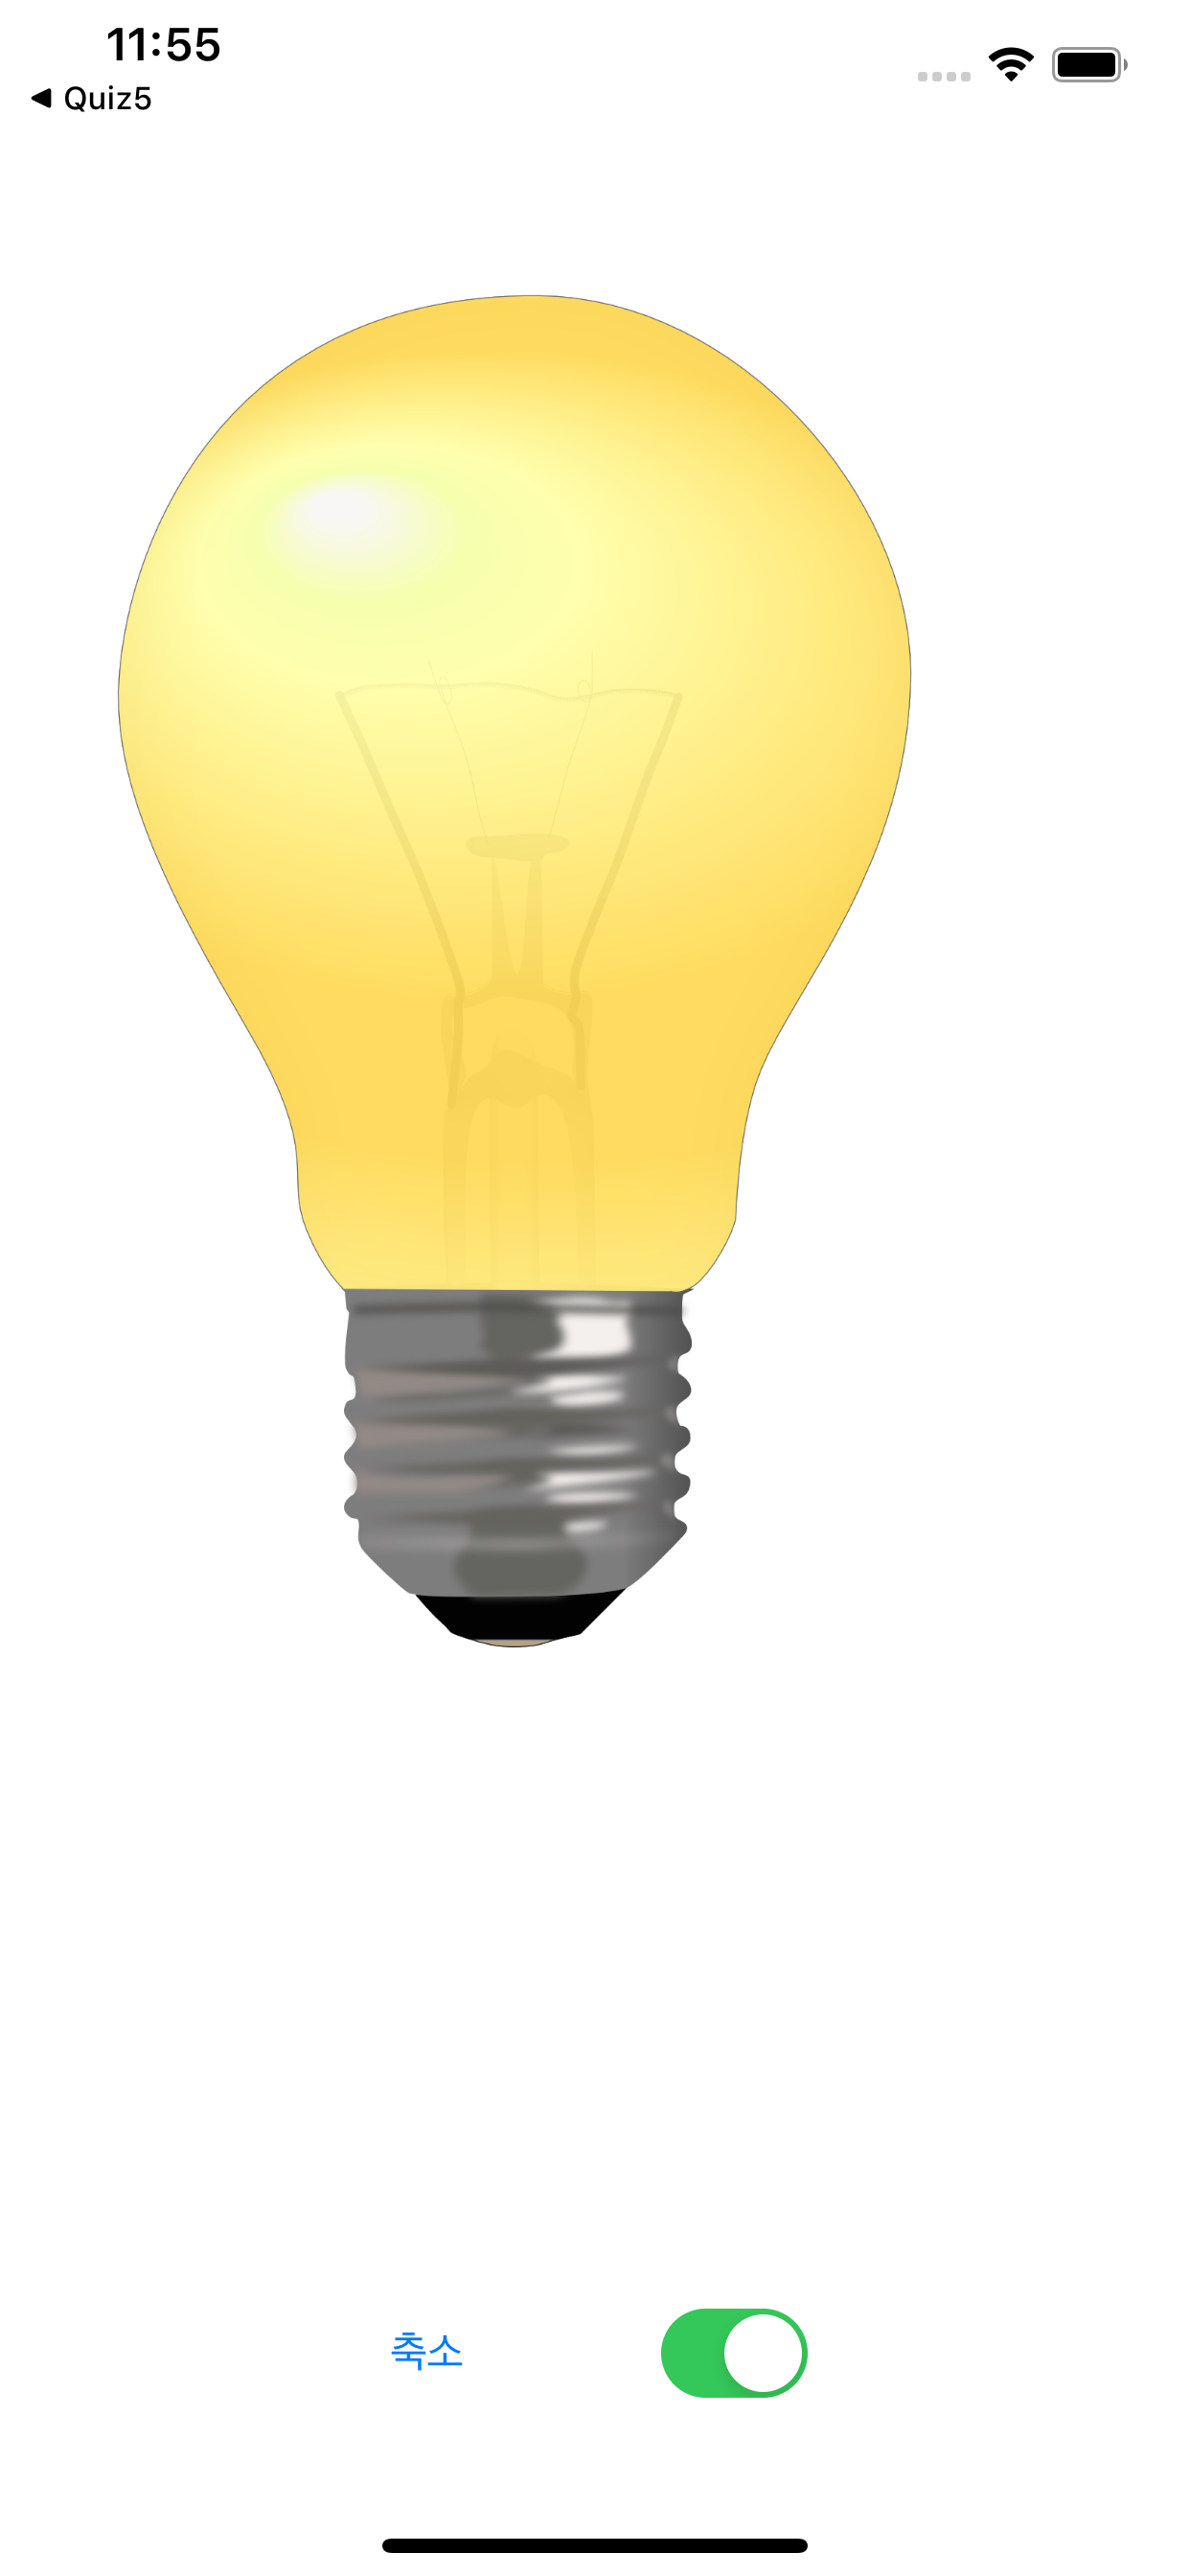
newWidth = imgView.frame.width * scale // 넓이를 크게 만드는 것
newHeight = imgView.frame.height * scale // 높이를 크게 만드는 것
btnResize.setTitle("축소", for: .normal) // 확대 버튼을 누루고 난 뒤 글씨가 바뀜.
}
// 화면 사이즈를 맞춰 주는 것.
imgView.frame.size = CGSize(width: newWidth, height: newHeight)
isZoom = !isZoom // isZoom이 아닐 경우 // false(기본이면)가 들어가면 true(확대로)로 들어 간다.
}
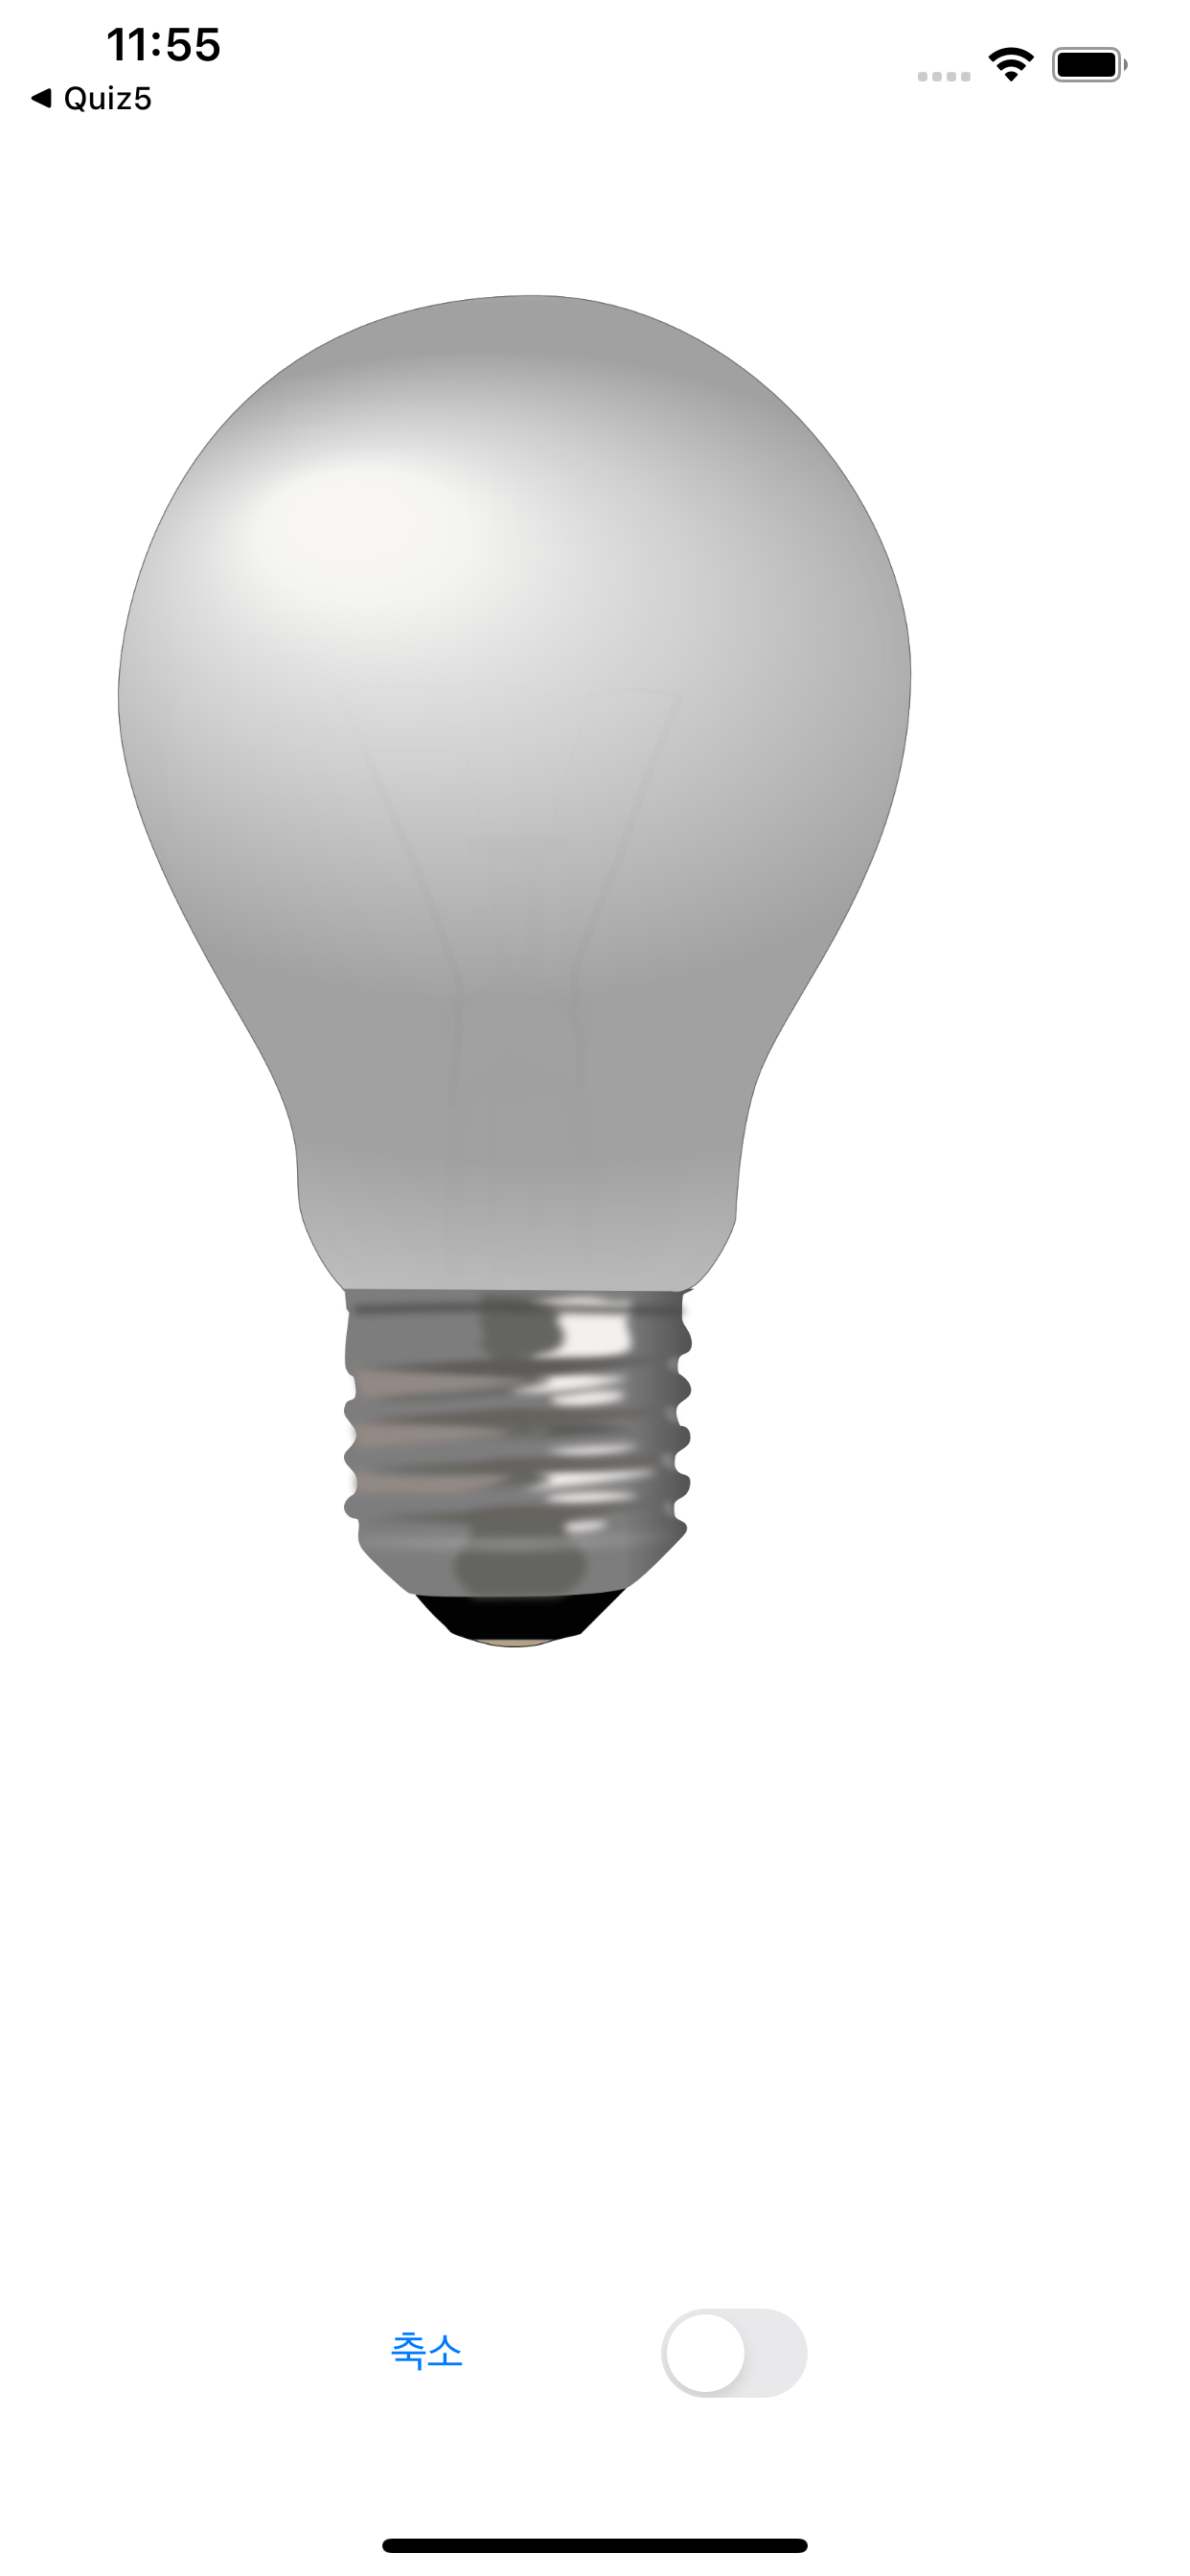
@IBAction func switchImageOnOff(_ sender: UISwitch) { // 전구 켜짐. 꺼짐 스위치 버튼
// on 일때 off 일때 각각 불러오기
if sender.isOn{ //if sender. ison 일 경우 전구가 켜짐 // sender는 모든 오브젝트의 상태를 알고 있다.
imgView.image = imgOn
}else{ // else일 경우 전구가 꺼짐.
imgView.image = imgOff
}
}
}
반응형
'개발자 코드(Code) > Swfit' 카테고리의 다른 글
| IOS) PageControl + label (홀수 :빨간색 , 짝수 : 파란색) (0) | 2020.08.26 |
|---|---|
| IOS) 경고 알림창 띄우기 기능 + 한 번에 3개의 기능 구현하기 (0) | 2020.08.26 |
| IOS) PickerDate Quiz 빨간색 + 파란색 (0) | 2020.08.26 |
| IOS) Picker date + 라벨(현재 시간, 사용자가 선택한 시간) (0) | 2020.08.26 |
| IOS) Button (이전+다음), Label (파일명) , ImageView(배열을 통한 이미지 삽입) (0) | 2020.08.26 |